


admin on April 10, 2025
How to Set Up Your First Raspberry Pi 5
Learn how to set up your Raspberry Pi 5 with this easy step-by-step guide. Perfect for beginners — includes hardware checklist, OS installation, and tips for first projects.
The Raspberry Pi 5 is the most powerful and feature-packed version yet of the iconic single-board computer. Whether you're building a smart home hub, a retro gaming console, or exploring embedded systems, the Pi 5 delivers improved performance, faster I/O, and an upgraded user experience.
In this guide, we’ll show you how to set up your Raspberry Pi 5 from scratch, right out of the box. Perfect for beginners!
What You’ll Need
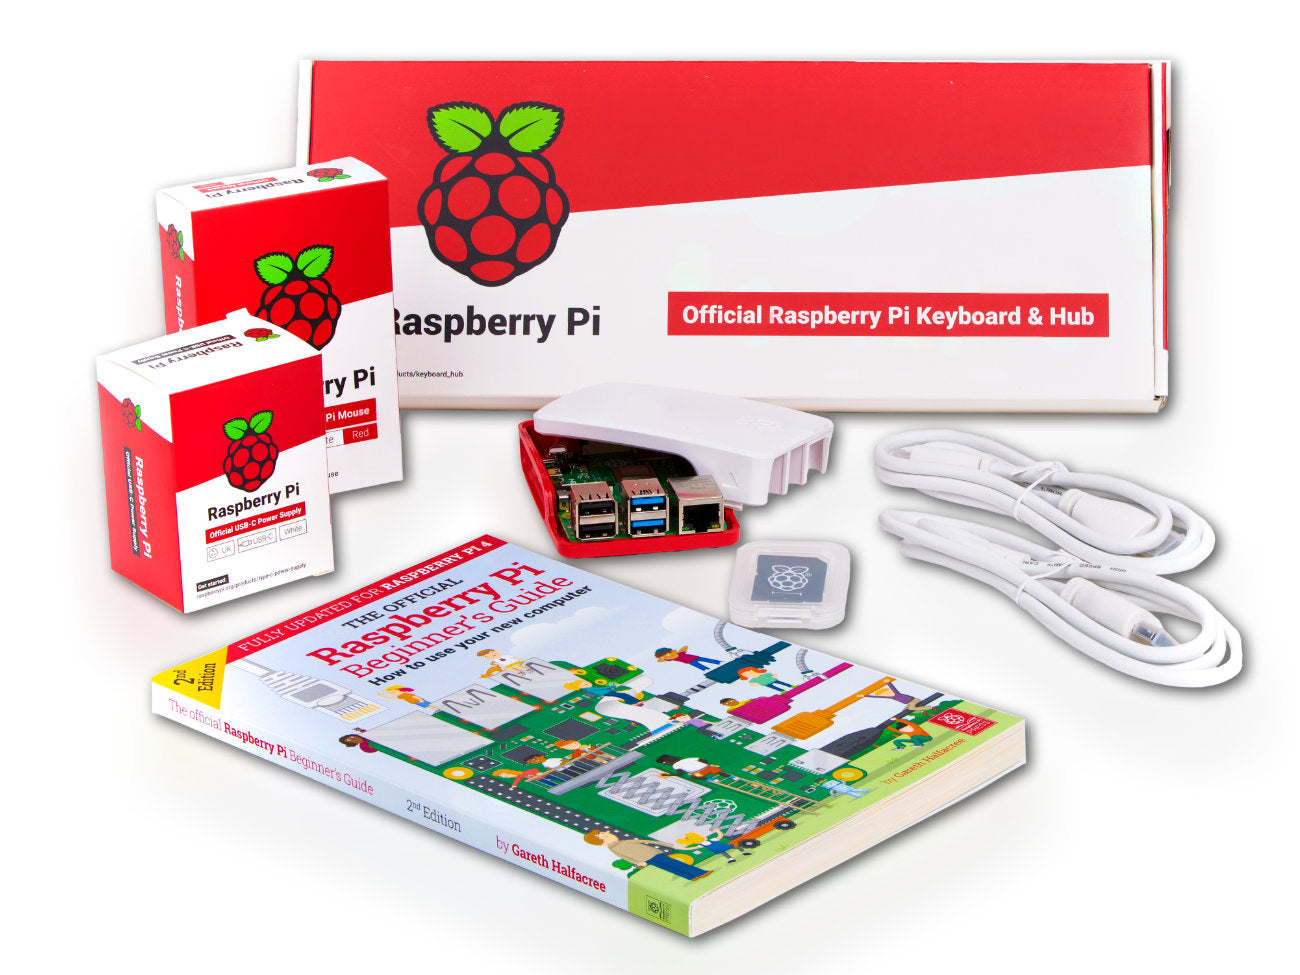
Here’s your Raspberry Pi 5 starter checklist:
- Raspberry Pi 5 board (4GB or 8GB RAM)
- microSD card (32GB Class 10 or better)
Optional: NVMe SSD (via PCIe interface) for faster storage - USB-C Power Supply (5V 5A) – Official Pi 5 PSU recommended
- Micro HDMI to HDMI cable
- Monitor or TV
- USB keyboard and mouse
- microSD card reader
- Internet connection (Wi-Fi or Ethernet)
💡 Pro Tip: Save time and money with our all-in-one Raspberry Pi 5 Starter Kit, available at Thingbits.in.
Step 1: Flash Raspberry Pi OS
The Raspberry Pi 5 runs Raspberry Pi OS (Bookworm) – optimized for performance and compatible with the Pi 5’s new architecture.
To install it:
- Download and install the Raspberry Pi Imager on your PC.
- Insert your microSD card or SSD into the reader.
- Open Raspberry Pi Imager and:
- Choose OS: Raspberry Pi OS (64-bit)
- Select Storage: Your SD card or SSD
- Click "Next" to pre-configure:
- Hostname
- Username/password
- Wi-Fi (if needed)
- Enable SSH (optional for remote access)
- Click “Write” and wait until it finishes.
- Eject the card or SSD safely.
Step 2: Connect the Hardware
- Insert the microSD card or connect SSD to the Pi 5.
- Connect the HDMI cable to a monitor.
- Plug in the USB keyboard and mouse.
- Finally, plug in the USB-C power supply.
You’ll see the Pi 5 boot screen and setup wizard in a few seconds.
Step 3: Initial Configuration
The setup wizard helps you:
- Select language and location
- Connect to Wi-Fi
- Set your password
- Check for updates
- Adjust display resolution
Once complete, you’ll reach the new Raspberry Pi OS desktop.
What’s New in Raspberry Pi 5?
Here are some standout features you’ll enjoy:
Feature Upgrade
| CPU | 2.4GHz quad-core Cortex-A76 (up to 3x faster than Pi 4)
| RAM | 4GB or 8GB LPDDR4X
| PCIe Support | Use M.2 SSDs with optional adapter
| Dual Camera Support | For AI, vision, and more
| Faster USB 3.0 | Direct PCIe link = faster SSDs
| Power Button | Long-press to shut down safely
| CPU | 2.4GHz quad-core Cortex-A76 (up to 3x faster than Pi 4)
| RAM | 4GB or 8GB LPDDR4X
| PCIe Support | Use M.2 SSDs with optional adapter
| Dual Camera Support | For AI, vision, and more
| Faster USB 3.0 | Direct PCIe link = faster SSDs
| Power Button | Long-press to shut down safely
What You Can Do With Your Pi 5
Now that your Raspberry Pi 5 is ready, here are a few exciting project ideas:
- Create a full desktop environment
- Build a personal AI assistant
- Program GPIOs with Python for robotics
- Set up a dual-camera surveillance system
- Turn it into a retro gaming console with RetroPie
- Host your own cloud storage with Nextcloud
Recommended Accessories
To get the best out of your Raspberry Pi 5:
- Active cooler / case with fan (Pi 5 runs hotter than Pi 4)
- Heatsinks for extra cooling
- NVMe SSD adapter board for fast boot and storage
- USB 3.0 Hub if you’re using multiple peripherals
All accessories are available at Thingbits.in
Need Help?
If you get stuck or want help choosing the right gear, don’t worry — we’re here to help!
Happy tinkering from the Thingbits Team!
India’s go-to store for Raspberry Pi and maker electronics.