admin on May 07, 2025
Getting Started with Arduino for Beginners
If you're curious about electronics or dreaming of building your own smart gadgets, Arduino is the perfect place to start. It’s a beginner-friendly open-source electronics platform that blends simple hardware with easy-to-learn software, making it ideal for students, hobbyists, and tinkerers.
Whether you want to automate your lights, build a weather station, or create a robot, Arduino gives you the foundation to bring your ideas to life.
What is Arduino?
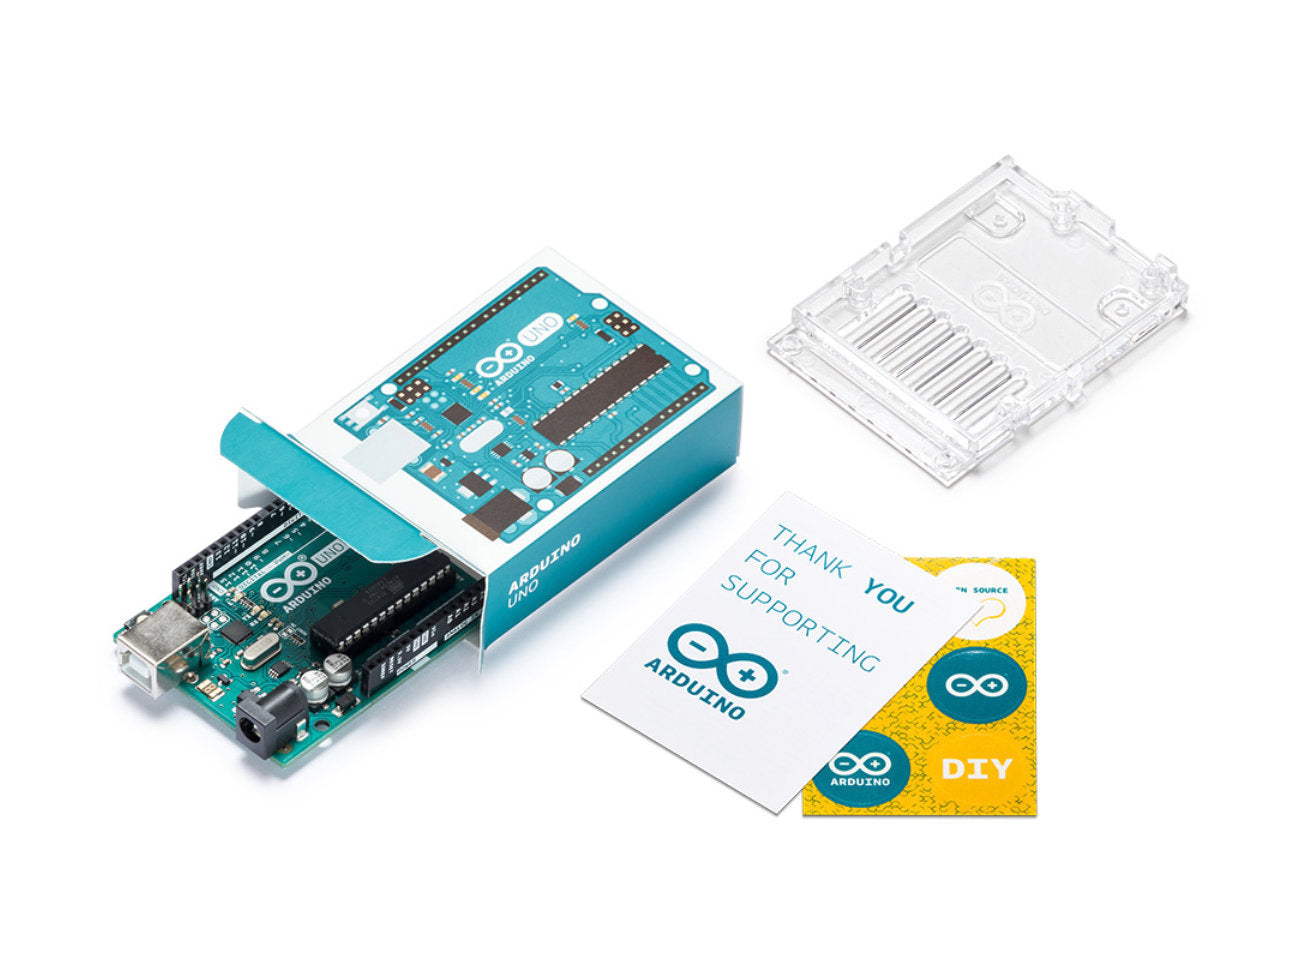
At its core, Arduino is a microcontroller board – a small, programmable computer that can read inputs (like sensors) and control outputs (like LEDs or motors). It uses a simplified version of C++ and an easy-to-use Integrated Development Environment (IDE) to write and upload code.
Popular Arduino boards include:
- Arduino Uno R3 – the most beginner-friendly and widely used board
- Arduino Nano – compact and breadboard-friendly
- Arduino Mega 2560 – ideal for complex projects with many input/output pins
Why Choose Arduino as a Beginner?
- No prior coding experience required
- Large community support and endless tutorials
- Affordable and open-source
- Hundreds of compatible sensors, shields, and modules
What You'll Need to Get Started
Here's a basic list of components for your first Arduino project:
Component Purpose
| Arduino Uno board | The brain of your project
| USB cable | To upload code and power the board
| Breadboard | To prototype circuits without soldering
| Jumper wires | To connect components
| LEDs, resistors, push buttons | Basic components for your first circuit
| Arduino Uno board | The brain of your project
| USB cable | To upload code and power the board
| Breadboard | To prototype circuits without soldering
| Jumper wires | To connect components
| LEDs, resistors, push buttons | Basic components for your first circuit
Installing the Arduino IDE
- Go to https://www.arduino.cc/en/software
- Download and install the IDE for your operating system.
- Connect your Arduino via USB.
- In the IDE:
- Select the correct board from Tools > Board > Arduino Uno
- Select the correct port from Tools > Port
You're now ready to write your first code!
Your First Program: Blink an LED
Here's a simple sketch (program) to blink an LED every second:
void setup() {
  pinMode(13, OUTPUT); // Set digital pin 13 as output
}

void loop() {
  digitalWrite(13, HIGH); // Turn LED on
  delay(1000);            // Wait 1 second
  digitalWrite(13, LOW);  // Turn LED off
  delay(1000);            // Wait 1 second
}
Upload this code, and you'll see the onboard LED on pin 13 blink!
Where to Go From Here
Once you’ve mastered blinking an LED, the real fun begins! You can try:
- Reading a temperature sensor
- Controlling a servo motor
- Connecting a Bluetooth module
- Building an obstacle-avoiding robot
Helpful Resources
- Arduino Project Hub
- Instructables Arduino Projects
- YouTube channels like Paul McWhorter, GreatScott!, and DroneBot Workshop
Final Tips
- Start small and experiment often.
- Don’t worry if things don’t work right away—troubleshooting is part of the learning.
- Join forums and communities like the Arduino Forum or r/arduino on Reddit.
Ready to begin your Arduino journey?
Check out our Arduino kits, sensors, and accessories on Thingbits.in and start building your next innovation today!
Check out our Arduino kits, sensors, and accessories on Thingbits.in and start building your next innovation today!
Would you like this blog in HTML format or need an image banner suggestion?
