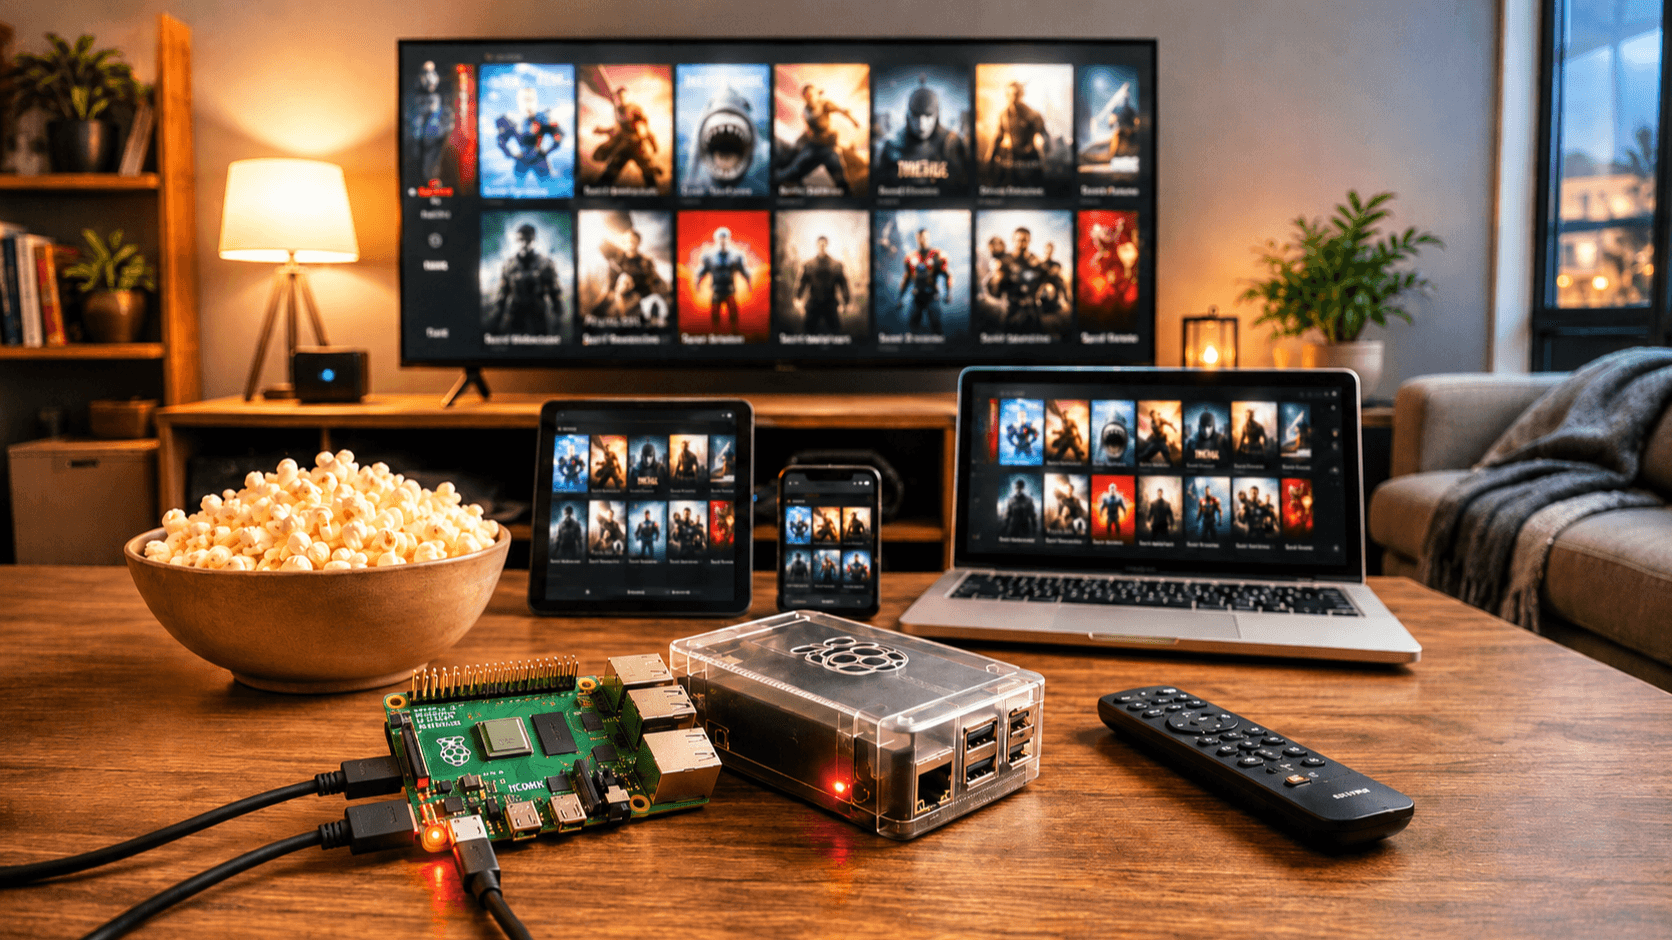
A practical guide to building a self-hosted media server on a Raspberry Pi, with your own movie and TV library streamable to phones, tablets, laptops, smart TVs, and Chromecast — at home or on the road.
What you're building
A Raspberry Pi running Jellyfin (a free, open-source media server) that:
- Scans a folder of your movies and shows, fetches posters and metadata, and presents a Netflix-style UI in any web browser
- Streams to native apps on iOS, Android, Apple TV, Fire TV, Roku, Android TV, LG/Samsung smart TVs, Kodi, and via Chromecast
- Tracks watch progress per user, so you can pause on your phone and resume on the TV
- Optionally reaches you anywhere in the world through a private tunnel — no port forwarding required
Jellyfin is the main recommendation because it's free, runs entirely on your hardware, and doesn't require an account on anyone's server. If you'd rather have the slickest UI and the easiest remote-access setup and don't mind a vendor account, Plex is a drop-in alternative; almost everything in this guide applies, just with Plex's installer and apps instead.
1. What you need
Hardware
- Raspberry Pi 4 (4 GB or 8 GB) or Raspberry Pi 5. A Pi 5 with 4 GB+ is the sweet spot. A Pi 3 will technically work for one stream of already-correctly-encoded video, but expect pain.
- Official power supply. Underpowered Pis cause weird, hard-to-diagnose stutters. Don't skimp.
- microSD card (32 GB+, A1/A2 rated) for the OS. Better yet, boot from a USB SSD — far faster and more reliable long-term.
- External storage for your media. A USB 3.0 SSD or a powered USB HDD. Self-powered 2.5" drives often work, but a powered hub or a drive with its own brick avoids brownouts.
- Ethernet cable. Wi-Fi works, but 1080p remuxes and 4K files will saturate it. Wired is the right answer.
- A case with a fan or heatsink, especially on Pi 5 — sustained video work warms it up.
On your network
- A router you can plug the Pi into
- A laptop or desktop to flash the SD card and do initial setup
Estimated cost: roughly USD $80–150 plus storage, depending on what you already own.
2. Install the operating system
Use Raspberry Pi OS Lite (64-bit). No desktop — this is a headless server.
- Download and install the Raspberry Pi Imager from
raspberrypi.com/software on your laptop. - Insert the microSD card.
- In Imager: choose device (your Pi model) → choose OS → Raspberry Pi OS (other) → Raspberry Pi OS Lite (64-bit) → choose storage (your SD card).
- Click the gear icon (or "Edit Settings") and set:
- Hostname:
mediapi (or whatever you like) - Username and password: pick something you'll remember
- Enable SSH with password authentication
- Configure Wi-Fi if you must, otherwise skip and use Ethernet
- Set locale and timezone
- Write the image, eject, insert into the Pi, plug in Ethernet, then power on.
Give it about a minute to boot, then from your laptop:
ssh [email protected]
If .local doesn't resolve on your network, find the Pi's IP in your router's admin page and SSH to that instead. Once in, update everything:
sudo apt update && sudo apt full-upgrade -y
sudo reboot
Plug your external drive into a USB 3.0 port (the blue ones on a Pi 4; any USB 3 port on a Pi 5). SSH back in after reboot.
Find the drive:
lsblk -f
You'll see something like sda1 with a filesystem type (ext4, exfat, or ntfs). For a media library that lives on the Pi long-term, ext4 is the best choice — fastest and most reliable on Linux. If the drive was formatted on Windows or Mac, you can either keep it as is (install the right driver) or reformat it (which erases everything).
If you need NTFS or exFAT support, install drivers first:
sudo apt install -y ntfs-3g exfatprogs exfat-fuse
Create a permanent mount point and auto-mount the drive on boot:
sudo mkdir -p /mnt/media
sudo blkid /dev/sda1     # note the UUID
sudo nano /etc/fstab
Add a line at the bottom (replace YOUR-UUID and adjust the filesystem type):
UUID=YOUR-UUID /mnt/media ext4 defaults,nofail,x-systemd.device-timeout=10 0 2
For NTFS use ntfs-3g instead of ext4; for exFAT use exfat. Save (Ctrl+O, Enter, Ctrl+X), then:
sudo mount -a
ls /mnt/media
If you see your files (or an empty folder for a fresh drive), you're set. The nofail option means the Pi won't refuse to boot if the drive is unplugged — useful.
Jellyfin (and Plex, and basically every media server) finds posters, plot summaries, and episode info by matching folder and file names to online databases. Get the naming right and everything Just Works; get it wrong and you'll be manually fixing metadata for hours.
Create this structure on /mnt/media:
/mnt/media/
├── Movies/
│   ├── The Matrix (1999)/
│   │   └── The Matrix (1999).mkv
│   └── Inception (2010)/
│       └── Inception (2010).mp4
└── TV Shows/
    ├── Breaking Bad/
    │   ├── Season 01/
    │   │   ├── Breaking Bad - S01E01.mkv
    │   │   ├── Breaking Bad - S01E02.mkv
    │   │   └── ...
    │   └── Season 02/
    └── Severance/
        └── Season 01/
Rules that save grief:
- Every movie gets its own folder named
Title (Year). The year disambiguates remakes. - TV episodes use
SxxEyy notation. S01E01, not 1x01 or episode 1. - One show per top-level folder; one season per subfolder.
- Avoid weird characters, double spaces, or trailing dots.
You can transfer files to the Pi over the network. The easiest way is to set up Samba (Windows file sharing) so the drive appears as a network folder on your laptop:
sudo apt install -y samba
sudo nano /etc/samba/smb.conf
Add to the bottom:
[media]
   path = /mnt/media
   browseable = yes
   read only = no
   guest ok = no
   valid users = mediapi
   force user = mediapi
Set a Samba password (can match your login password):
sudo smbpasswd -a mediapi
sudo systemctl restart smbd
On Windows, open File Explorer and type \\mediapi.local\media. On macOS, in Finder, Go → Connect to Server and enter smb://mediapi.local/media. Drag your files in.
5. Install Jellyfin
The Jellyfin team maintains an official Debian repo, so installation is one script:
curl https://repo.jellyfin.org/install-debuntu.sh | sudo bash
When it asks for the architecture and OS version, accept the defaults it detects. After it finishes:
sudo systemctl status jellyfin
You should see active (running) in green. From any computer on the same network, open a browser to:
http://mediapi.local:8096
The Jellyfin setup wizard will walk you through:
- Preferred display language
- Create your admin user — pick a strong password
- Add media libraries:
- Click Add Media Library
- Type: Movies, folder:
/mnt/media/Movies - Repeat with Type Shows, folder:
/mnt/media/TV Shows - Leave metadata downloaders at their defaults
- Metadata language / country
- Remote access: leave Allow remote connections checked for now (we'll lock this down properly in section 7); leave automatic port mapping off.
- Finish.
Jellyfin will start scanning your library. With a few hundred items it takes a couple of minutes; with thousands, leave it overnight. You can browse the UI while it works.
6. Enable hardware transcoding (the make-or-break setting)
A Raspberry Pi's CPU is not strong enough to transcode 1080p video on the fly. Its GPU, however, can — if you tell Jellyfin to use it.
Why this matters: If a client device can play your file natively (right codec, right resolution, right container), Jellyfin just sends the bytes — easy. If the device can't (wrong codec, too big a file for a phone's screen, slow connection), Jellyfin has to re-encode in real time. Without hardware acceleration, the Pi tries to do this with the CPU and produces a slideshow.
Add the Jellyfin user to the video and render groups so it can use the GPU:
sudo usermod -aG video,render jellyfin
sudo reboot
Then in the Jellyfin web UI:
- Administration → Dashboard → Playback
- Hardware acceleration: select Video4Linux2 (V4L2) on Pi 4, or check Jellyfin's current Pi 5 recommendation (the options evolve).
- Set H264 / HEVC encoder options as the Jellyfin docs suggest for your Pi model.
- Enable Hardware decoding for: H264, HEVC, VP9 (whichever your GPU supports).
- Save.
Test by playing something. In the player, click the gear → Quality → pick a lower bitrate to force a transcode. CPU usage should stay reasonable; if the Pi fan ramps up to a roar and playback stutters, the GPU isn't actually being used — revisit the encoder settings.
A trick that sidesteps transcoding entirely: keep your library in formats most devices play natively. H.264 video + AAC audio in an MP4 or MKV container plays directly on virtually everything. If you control the encoding (e.g., using HandBrake to rip), this is the path of least pain.
7. Stream to your devices
On the same Wi-Fi, everything works immediately. Install the Jellyfin app from your platform's store:
- iOS / Android: "Jellyfin Mobile" in the App Store / Play Store
- Apple TV: "Jellyfin" (or third-party clients like Infuse, which is excellent)
- Fire TV / Android TV: "Jellyfin for Android TV"
- Roku: official Jellyfin channel
- Smart TVs (LG webOS, Samsung Tizen): official Jellyfin apps in the TV's store
- Chromecast: cast from the mobile or web app
- Web browser on anything else:
http://mediapi.local:8096
In each app, server address is http://mediapi.local:8096 (or the Pi's IP). Log in with the user you created.
Create extra user accounts for family members in Dashboard → Users. Each gets their own watch history, resume points, and library access rules — useful for keeping the kids out of your horror collection.
8. Watch from outside your home (the right way)
You have three options, in order of how much I'd recommend them.
Option A: Tailscale (the right answer for most people)
Tailscale creates a private mesh network between your devices. Your phone, your Pi, and your laptop all act like they're on the same LAN, even when you're on hotel Wi-Fi in another country. No router config, no exposing your Pi to the open internet, no paying for a static IP.
On the Pi:
curl -fsSL https://tailscale.com/install.sh | sh
sudo tailscale up
It'll print a URL. Open it on your laptop, sign in with Google or Microsoft or GitHub, and the Pi joins your "tailnet." Install the Tailscale app on your phone, sign in with the same account, and now http://mediapi:8096 works from anywhere. Free for personal use (up to 100 devices).
This is the recommended approach. It's secure, it's fast, it doesn't expose anything publicly, and it survives changing IPs.
Option B: Cloudflare Tunnel
If you want a real https://media.yourdomain.com URL with a proper certificate and no Tailscale app required on every client, Cloudflare Tunnels do this without opening any router ports. Requires owning a domain and pointing it at Cloudflare. More setup than Tailscale; worth it if you want frictionless access for non-technical family.
Option C: Port forwarding (don't, unless you really know what you're doing)
You can forward port 8096 on your router to the Pi, optionally with a dynamic DNS service. This exposes Jellyfin directly to the internet, which means: keep it patched religiously, put it behind a reverse proxy with HTTPS (Caddy makes this easy), use strong passwords, and consider fail2ban. If any of those words are unfamiliar, use Tailscale instead.
9. Optional but excellent additions
Automated library management: the *arr stack — Sonarr (TV), Radarr (movies), Prowlarr (indexers), and Bazarr (subtitles) — automates fetching metadata, renaming files into the structure above, and grabbing subtitles in the languages you want. Install via Docker for cleanliness. Be aware that you're responsible for sourcing your own media legally; these tools don't care where files come from.
Hard-drive spindown: if you use a spinning HDD, install hd-idle so it sleeps when idle. Saves power and noise.
Backups: back up /var/lib/jellyfin/ periodically. It contains your library metadata, user accounts, watch history, and settings. Losing it means rescanning everything and starting over — annoying, not catastrophic.
Monitoring: htop shows live CPU/RAM. iotop shows disk I/O. If playback stutters, check both.
A UPS: a small uninterruptible power supply protects the Pi and drive from sudden power loss, which is the most common cause of corrupted SD cards.
10. Common problems and fixes
"Server not found" in the mobile app. You're on cellular, not your home Wi-Fi. Use the IP or set up Tailscale.
Playback stutters or buffers locally. Almost always either (a) hardware transcoding isn't actually engaged — check the dashboard's "active streams" view, which says "Direct Play," "Direct Stream," or "Transcoding," or (b) the Pi is on Wi-Fi. Wire it.
Metadata is wrong or missing. Folder name doesn't match the rules in section 4, or the year is wrong. Right-click the item in Jellyfin → Identify to fix manually.
Drive disappears after a reboot. Power. Either the drive needs its own power brick, or the Pi's power supply isn't supplying enough. Check dmesg | grep -i usb for under-voltage warnings.
Subtitles don't show. Drop a .srt file with the same base name as the video alongside it (Inception (2010).en.srt), or install Bazarr.
External access stopped working. Your home IP changed. This is why Tailscale is recommended — it doesn't care.
You're done
You now have a Netflix-shaped service that costs nothing per month, runs on hardware that fits in a deck of cards, contains exactly what you want it to, and isn't going to remove your favorite show next quarter because of a licensing dispute. Enjoy.